This process is the same for a personal PC or a lab/group owned PC (If you are a lab member and off-campus, you will need to connect to VPN and SMPH Script first as outlined HERE)
- On a Windows 10 computer, click on the Start button and type Printers and Scanners and hit Enter when it comes up.
- Click the + button.
...
- Click on The printer I want isn't listed.
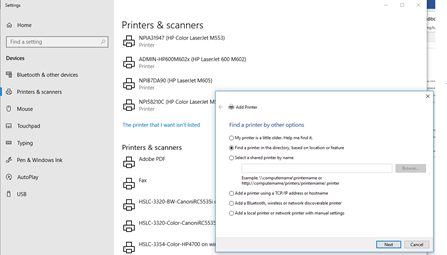
- Select Find a printer in the directory, based on location or feature and click Next.
NOTE FOR LABS- Lab Members can select "Select a shared printer by name" and then put in
\\smph-prn01.ad.wisc.edu\name of the printer
For example - \\smph-prn01.ad.wisc.edu\smph-msb-3345-Brother-Color-HL8260CDW
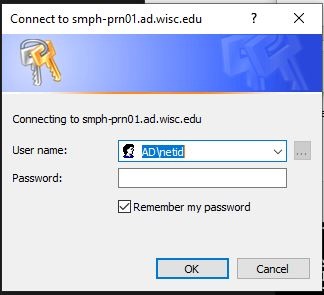
Click Next. After a while of trying to connect it should prompt for credentials, where lab members will put in AD\netID (replace it with yours) and their net ID password.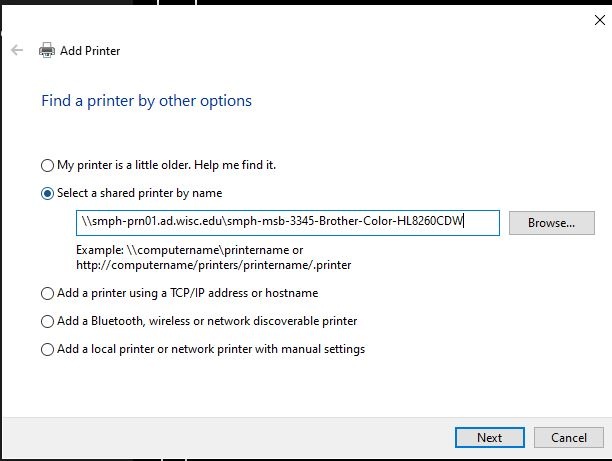
- Scroll through the list to find your printer, when you find it, double click on it.
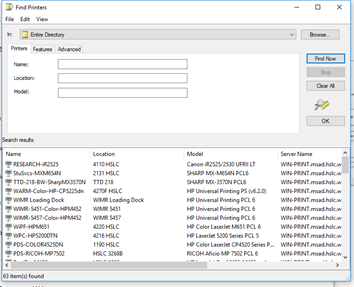
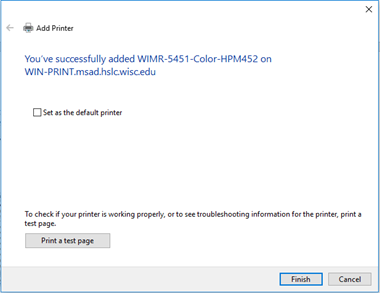
- Check the box to Set as the default printer if it's to be your default, don't check it if it's not.
...
| Info |
|---|
On a personal computer, you MUST be connected to the drive mapping script first. |
...