<div style="background-color: yellow; border: 2px solid red; margin: 4px; padding: 2px; font-weight: bold; text-align: center;">
This page was moved to <a href="https://kb.wisc.edu/134183">kb.wisc.edu/134183</a>
<br>
Click in the link above if you are not automatically redirected in 10 seconds.
</br>
</div>
<meta http-equiv="refresh" content="5; URL='https://kb.wisc.edu/134183'" />

Note:  SSO is replacing the End-Of-Life Enterprise Connect which is how users connect to their network drives

Step-by-step guide

Add the steps involved:

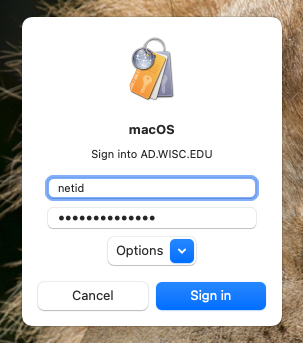
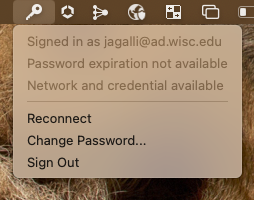
  1. When you see the prompt in the image below, sign in with your University NetID and Password.  You can verify connection by clicking on the key symbol on your Apple Toolbar.


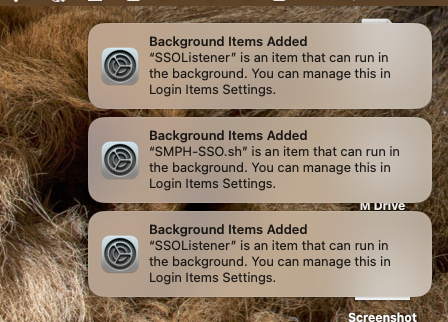
  2. You will see that background items have been added (SSO-Listeners) 


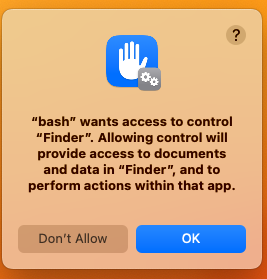
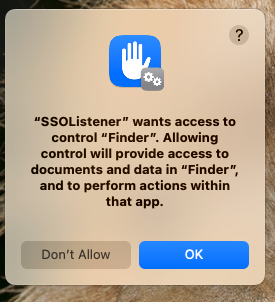
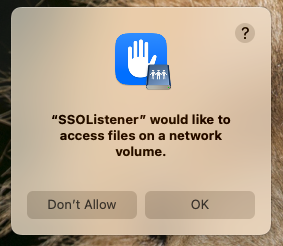
  3. NOTE: SSO Should prompt you to allow it to run.  If you do not see the prompts, please restart your computer and then wait 2-3 minutes after getting logged in.  If you still do not see this, a second restart is sometimes needed.


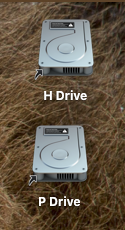
  4. If you are not receiving the prompt after restarting: Click on SSO (Key icon) and select reconnect.  Please allow 2-3 minutes for the prompts.  If they still do not occur at this point, do a final restart.  If at this point you do not see the drives or prompts, reach out to our support via the support portal:  https://it.med.wisc.edu/communications/welcome-to-the-new-shared-services-it-ticket-portal/


You may also want to use visual panels to communicate related information, tips or things users need to be aware of.

Related articles

Related articles appear here based on the labels you select. Click to edit the macro and add or change labels.


Related issues