<div style="background-color: yellow; border: 2px solid red; margin: 4px; padding: 2px; font-weight: bold; text-align: center;"> This page was moved to <a href="https://kb.wisc.edu/134090">kb.wisc.edu/134090</a> <br> Click in the link above if you are not automatically redirected in 10 seconds. </br> </div> <meta http-equiv="refresh" content="5; URL='https://kb.wisc.edu/134090'" /> |

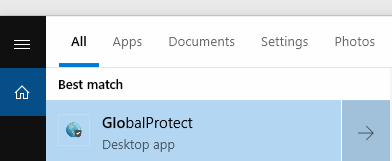
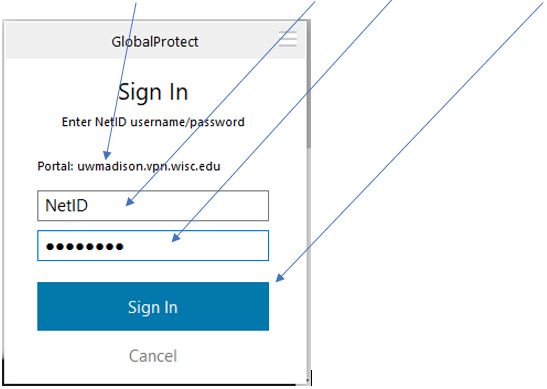
b. If you are asked for a portal address, enter uwmadison.vpn.wisc.edu
For PHS, PHI, and SHOW use: smph.vpn.wisc.edu
c. Press Connect
Verify portal address, enter your NetID and Password, then press Sign In

d. You should see a Connecting message and then GlobalProtect with disappear
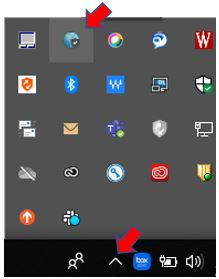
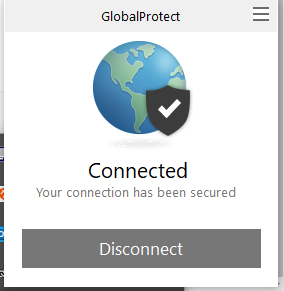
e. If the connection was successful, you will see a blue globe in the System Tray (bottom right of computer). If needed, press the up arrow to show System Tray icons.
f. To disconnect, select the globe to bring up the application and select Disconnect.

