This page was moved to kb.wisc.edu/134087
Click in the link above if you are not automatically redirected in 10 seconds.
Click in the link above if you are not automatically redirected in 10 seconds.
You can use this guide to invite new users to the BioRender department license. This should only be done by designated group admins. The invitation will take up a paid license seat.
The new user will receive an invite email, once they accept it, create their account, and verify their account, they will have full access to the BioRender service.
Please Note: Whenever a user is added or removed, please do so from BOTH the account section as well as the groups section as the instructions outline
- Login to the BioRender portal page: https://www.biorender.com/ ; click "Sign in"
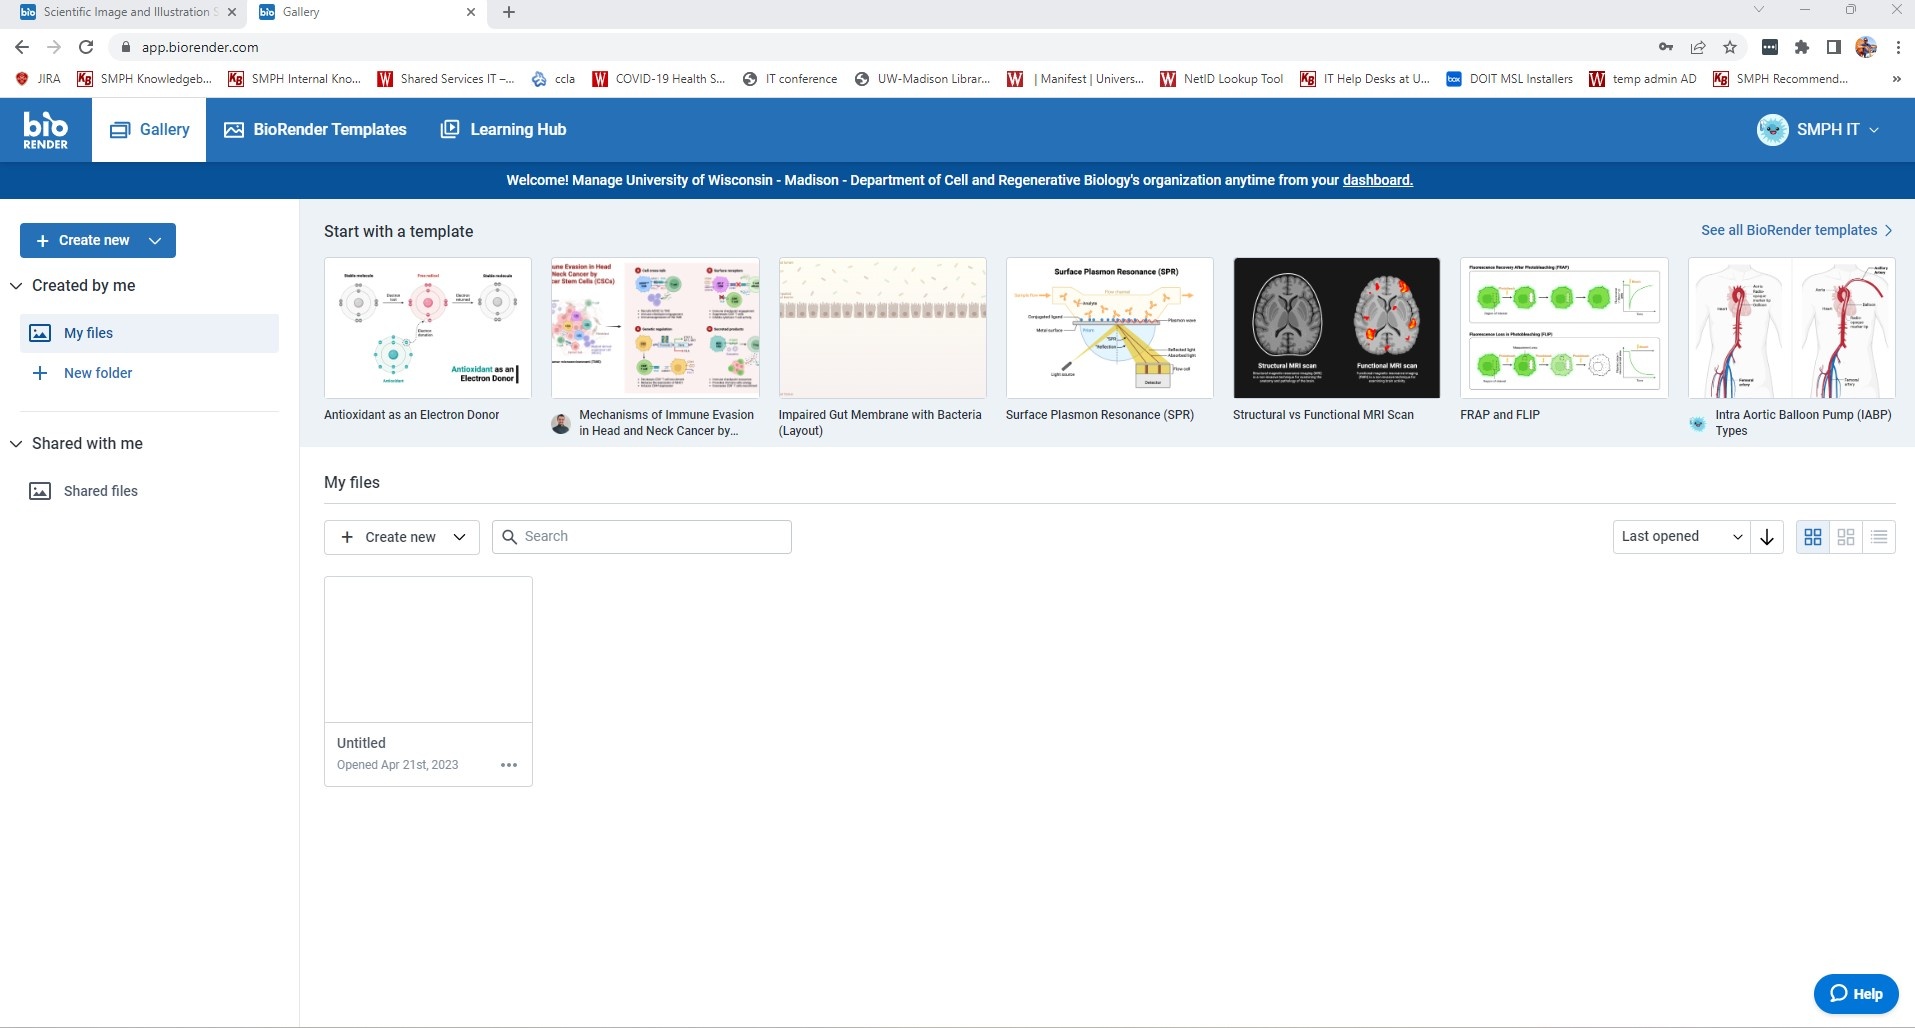
ADDING A USER: - Once signed in, you will see the active workspace area
3. Click on your name/account in the upper right corner, then click on "Account Overview & Users"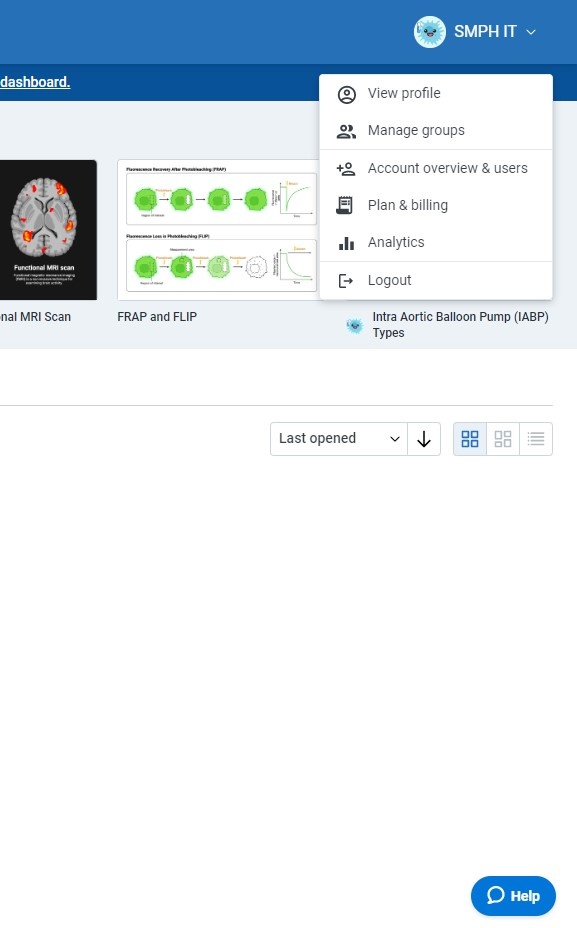
4. Click on "Invite Users" and select "by email"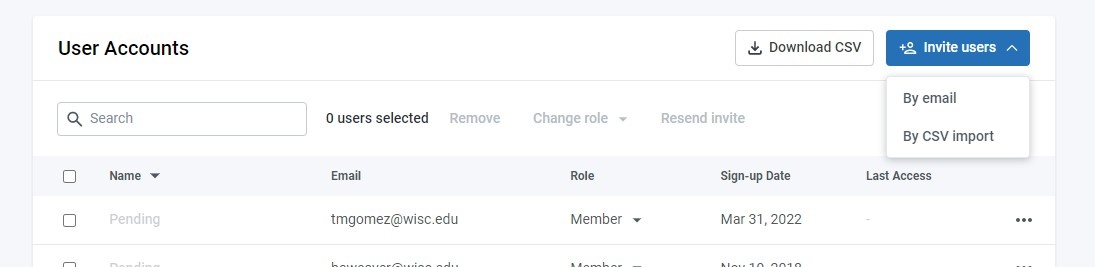
5. Enter the staff member's email address and copy/paste in the following canned message:
"You have been added to the CRB/Neurosci/BMC department BioRender license. Please follow the link to create an account and then verify the account once prompted. This license is billed annually per Michael Ferree of CRB michael.ferree@wisc.edu"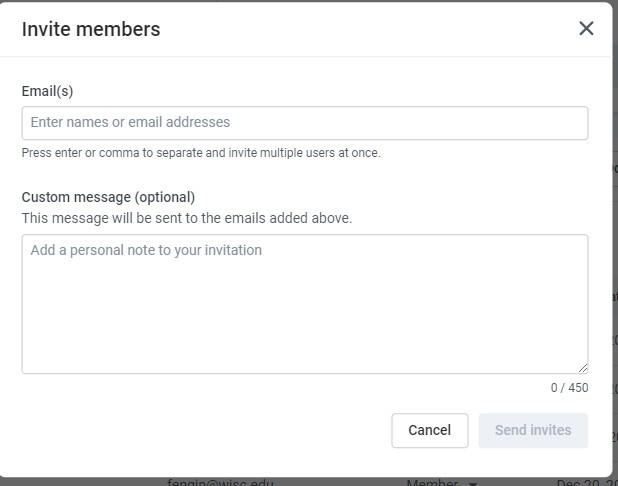
6. Now you must add the user to their respective Lab Group. Click on the Groups section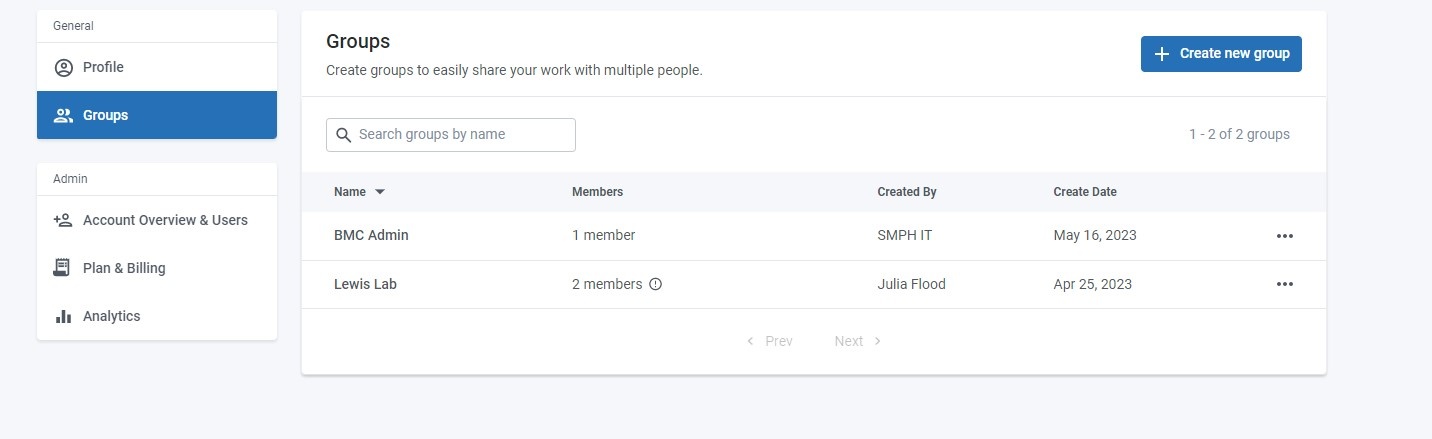
7. Click on the group that they belong to. Click "Add Members"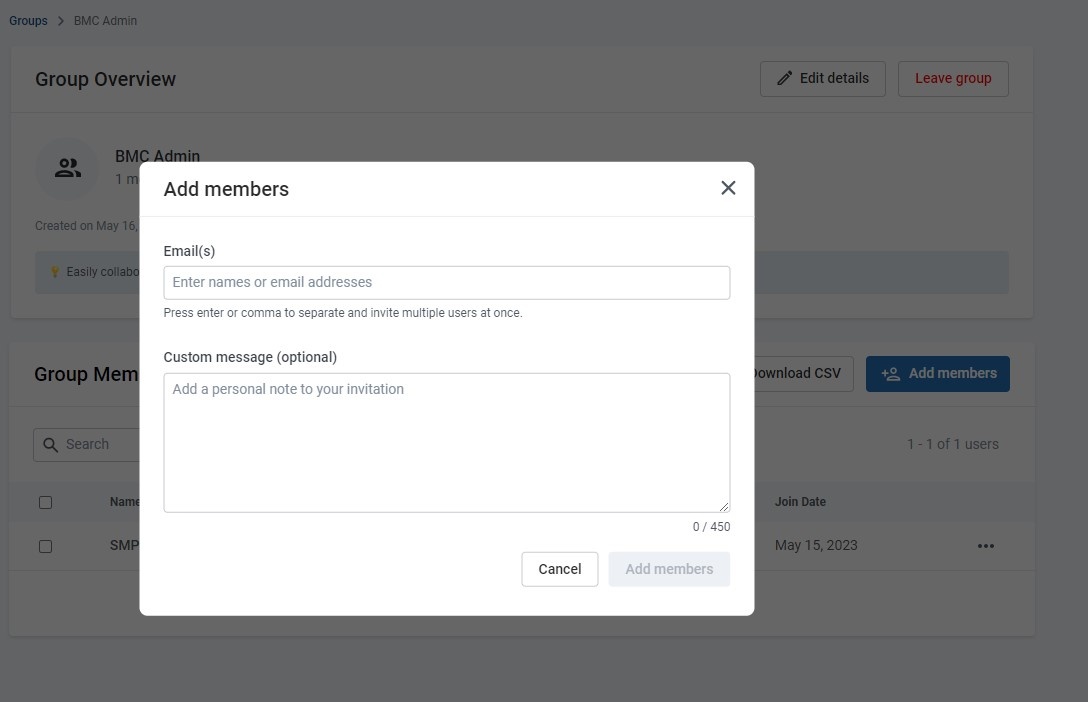
8. Start typing the lab member's email address. It should auto-populate and show you the one. Click on it, then copy/paste in the following canned message:
"You have been added to your Lab's BioRender group. This is used for organizational and billing purposes so that it is associated with the Lab P.I. There is no further action to do at this time"
REMOVING A USER:
9. Click back on the "Account Overview & Users" section from step 3. Find the name you would like to remove from licensing. Click the three dots next to their name and select "remove". Accept the prompt that this will delete their work. Then click back on the "Groups" section and remove them from their respective lab group in the same manner.