This process is the same for a personal PC or a lab/group owned PC (If you are a lab member and off-campus, you will need to connect to VPN and SMPH Script first as outlined HERE)
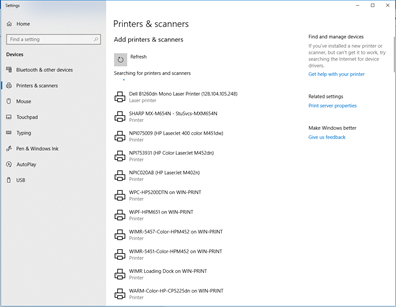
- On a Windows 10 computer, click on the Start button and type Printers and Scanners and hit Enter when it comes up.
- Click the + button.
If you DO SEE your printer in the list that comes up
- Click on the printer to add it, it will take a minute or two and it will install the driver and the printer will be there.
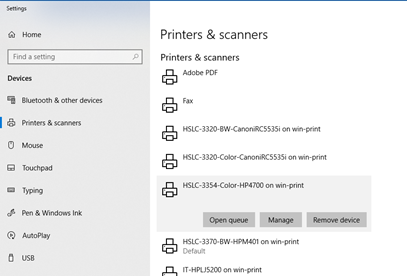
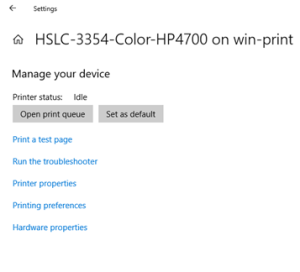
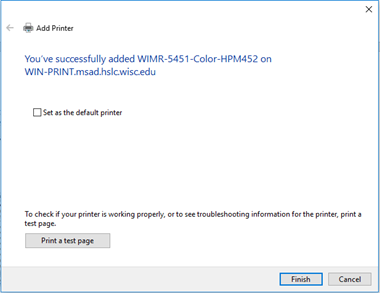
- If it's not the default, you can set it as the default by clicking on the printer you want as the default, then click on Manage and then click on Set as default.
If you DO NOT SEE your printer in the list:
- Click on The printer I want isn't listed.
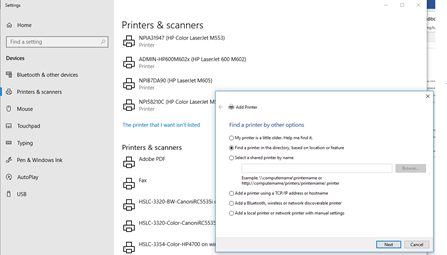
- Select Find a printer in the directory, based on location or feature and click Next.
NOTE FOR LABS- Lab Members can select "Select a shared printer by name" and then put in
\\smph-prn01.ad.wisc.edu\name of the printer
For example - \\smph-prn01.ad.wisc.edu\smph-msb-3345-Brother-Color-HL8260CDW
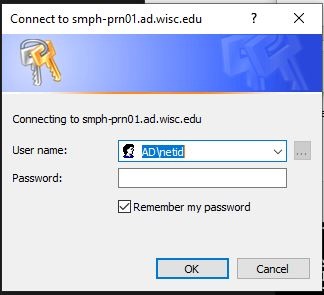
Click Next. After a while of trying to connect it should prompt for credentials, where lab members will put in AD\netID (replace it with yours) and their net ID password.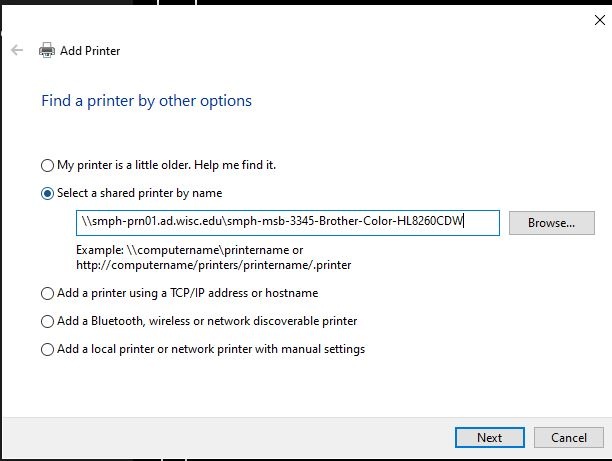
- Scroll through the list to find your printer, when you find it, double click on it.
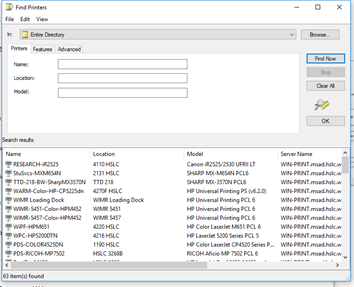
- Check the box to Set as the default printer if it's to be your default, don't check it if it's not.
On a personal computer, you MUST be connected to the drive mapping script first.
Related articles
Content by label
There is no content with the specified labels