- Click on the "Go" menu > Utilities (for this particular example PLEASE disable internet first. Click on the Wi-Fi Field and make sure Wi-Fi is OFF and that the computer is not connected to a dock or hardline Ethernet)
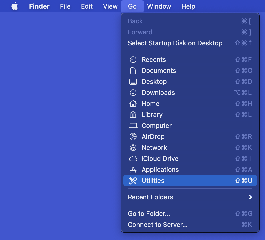
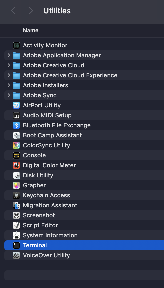
- Open "Terminal"
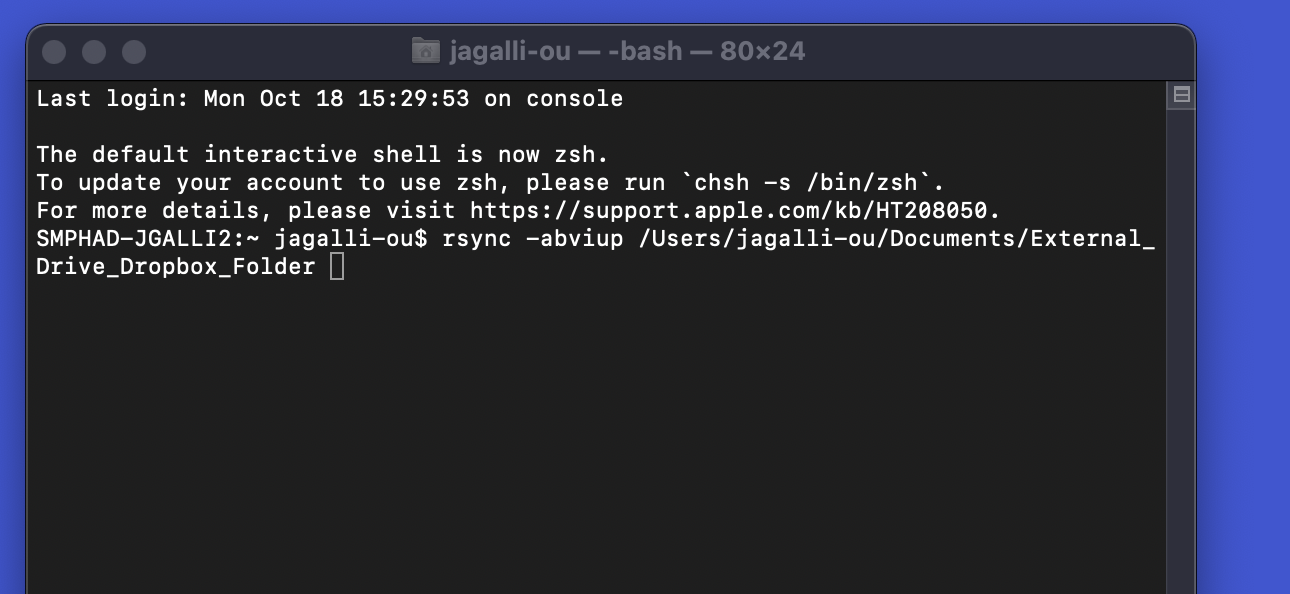
- On the blank line, type rsync -abviuP
(Make sure to type all commands exactly as shown including spaces and case sensitivity)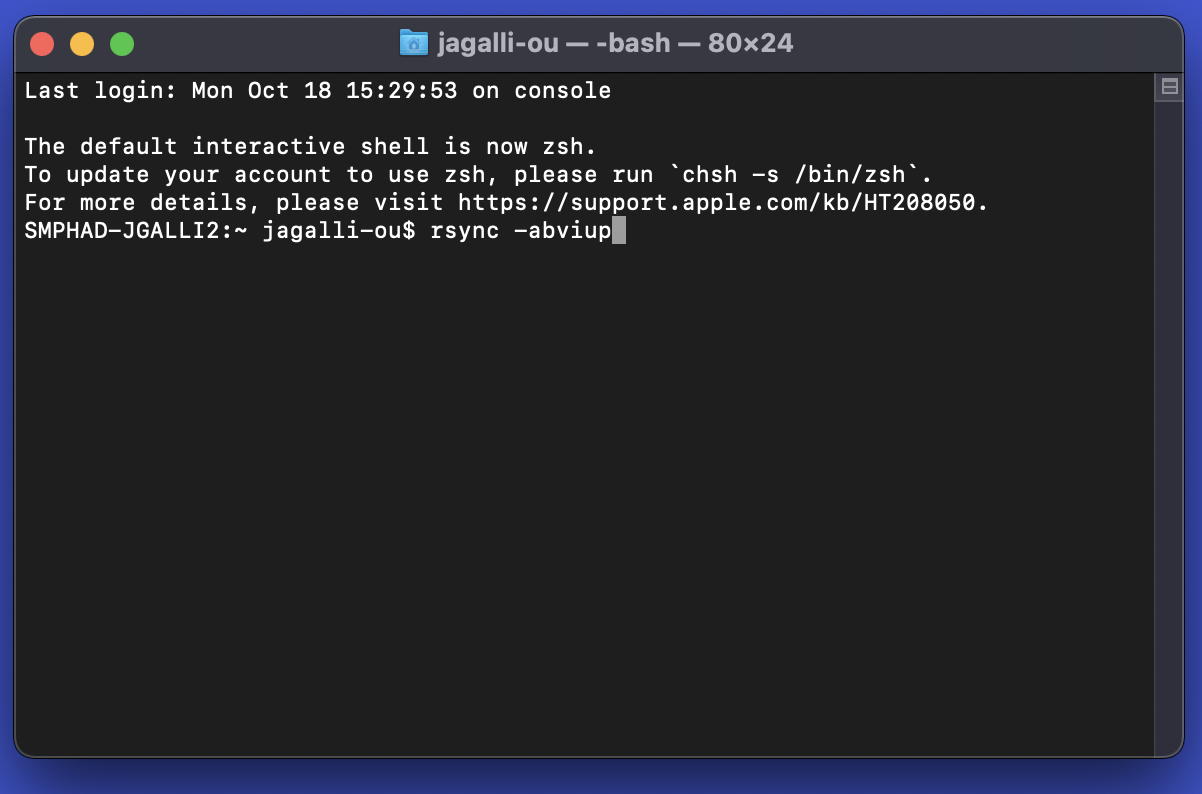
- Navigate to your External Drive through "Finder" or "Macintosh HD" and click on the folder you wish to copy (the parent folder containing all the subfolders and data you wish to transfer). The image below simply shows an example.
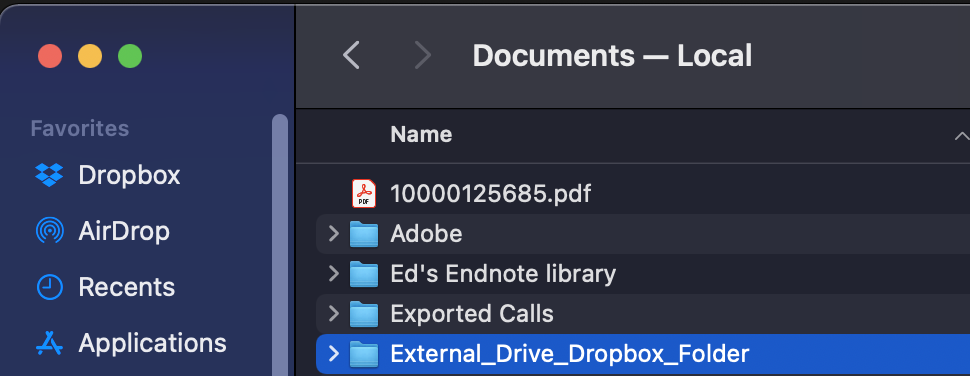
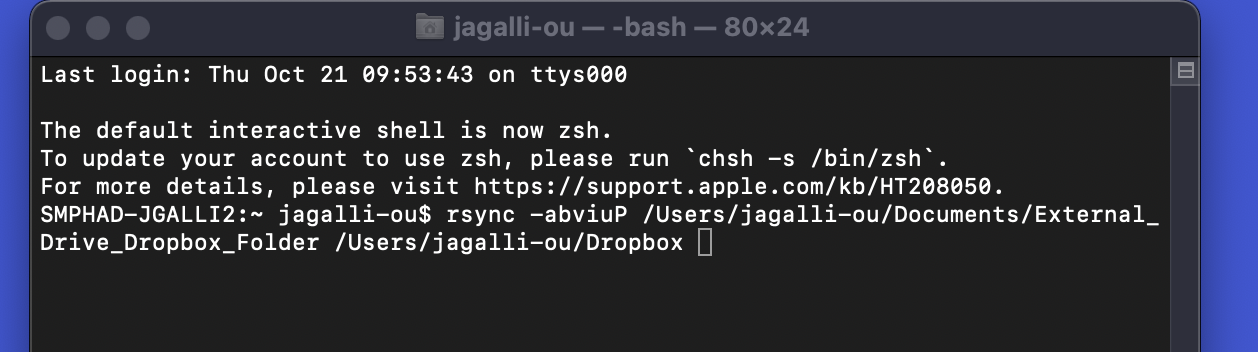
- Make sure there is a single space after abviuP in the terminal window (add one if not), and then drag the Dropbox folder you wish to transfer into the Terminal window. It should show similarly to the image below.
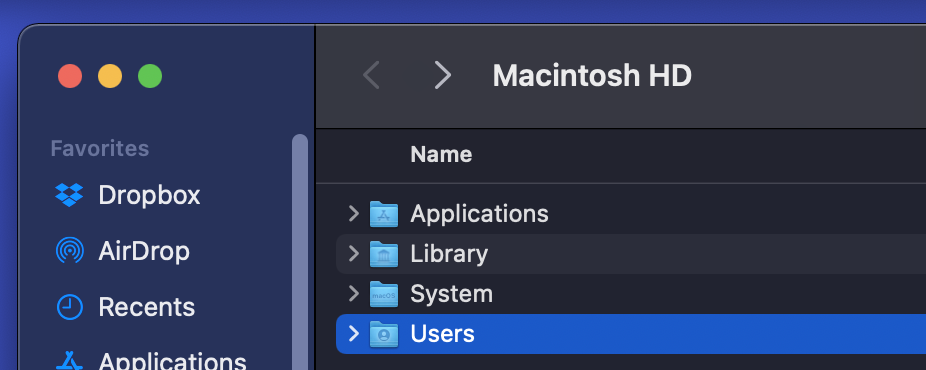
- Go into "Macintosh HD" and navigate to your "Users" folder
- Navigate from Users to your specific user folder (your name/net ID/whatever your Mac user account is named) and eventually to the Dropbox folder or parent folder directly above where you'll be copying your files to. So for example, if the folder you are copying from your external drive is your actual full dropbox folder, you will need to be one level above that (your username folder).
If the folder you are copying is IN your dropbox folder, then you will want to stop at the Dropbox folder instead. In the example below, I have selected the dropbox folder within the specific user account as I am copying a folder from the external drive that is within a dropbox folder on there. Whichever folder is receiving the contents, you want to make sure you are one level above it.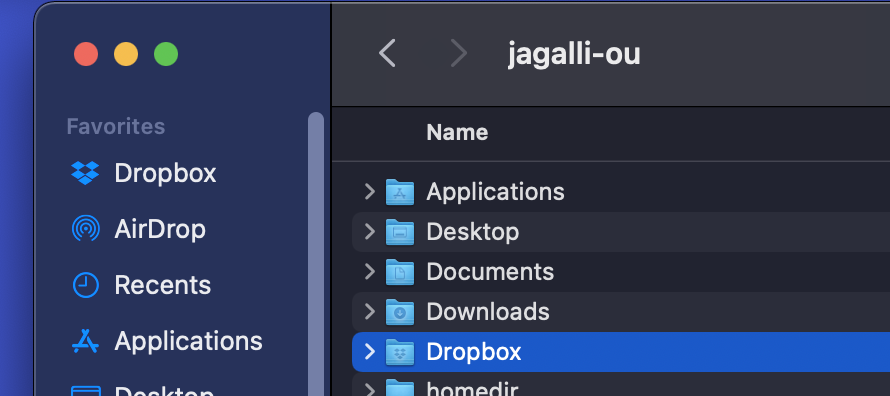
- Make sure a space is after your file path in the Terminal window, and then drag the parent folder (from within your user folder on Macintosh HD) to the Terminal path
- Create a log folder (anywhere). In this example it is simply on the desktop

- Make sure there is a space in Terminal after your path, then add two right-carrots >> make another space and drag the log file in after it

- Click where the cursor is in the terminal window and backspace until you are up against the end of the log folder name. Add another backslash and then type a name for the log file. For example /Log/externaldatacopy.log
This will be the file that will ultimately have the description of the transfer process and any issues.
- Hit return. The cursor should sit on the line or below it. The copy will begin. There is not a progress bar, although the log file can be opened periodically and may show changes. For a large folder copy, this will take some time. If an error appears when you hit return, this will need to be troubleshooted with IT before continuing.
When the file copy is finished, it will advance to another blank line (after your user, similar to how it started)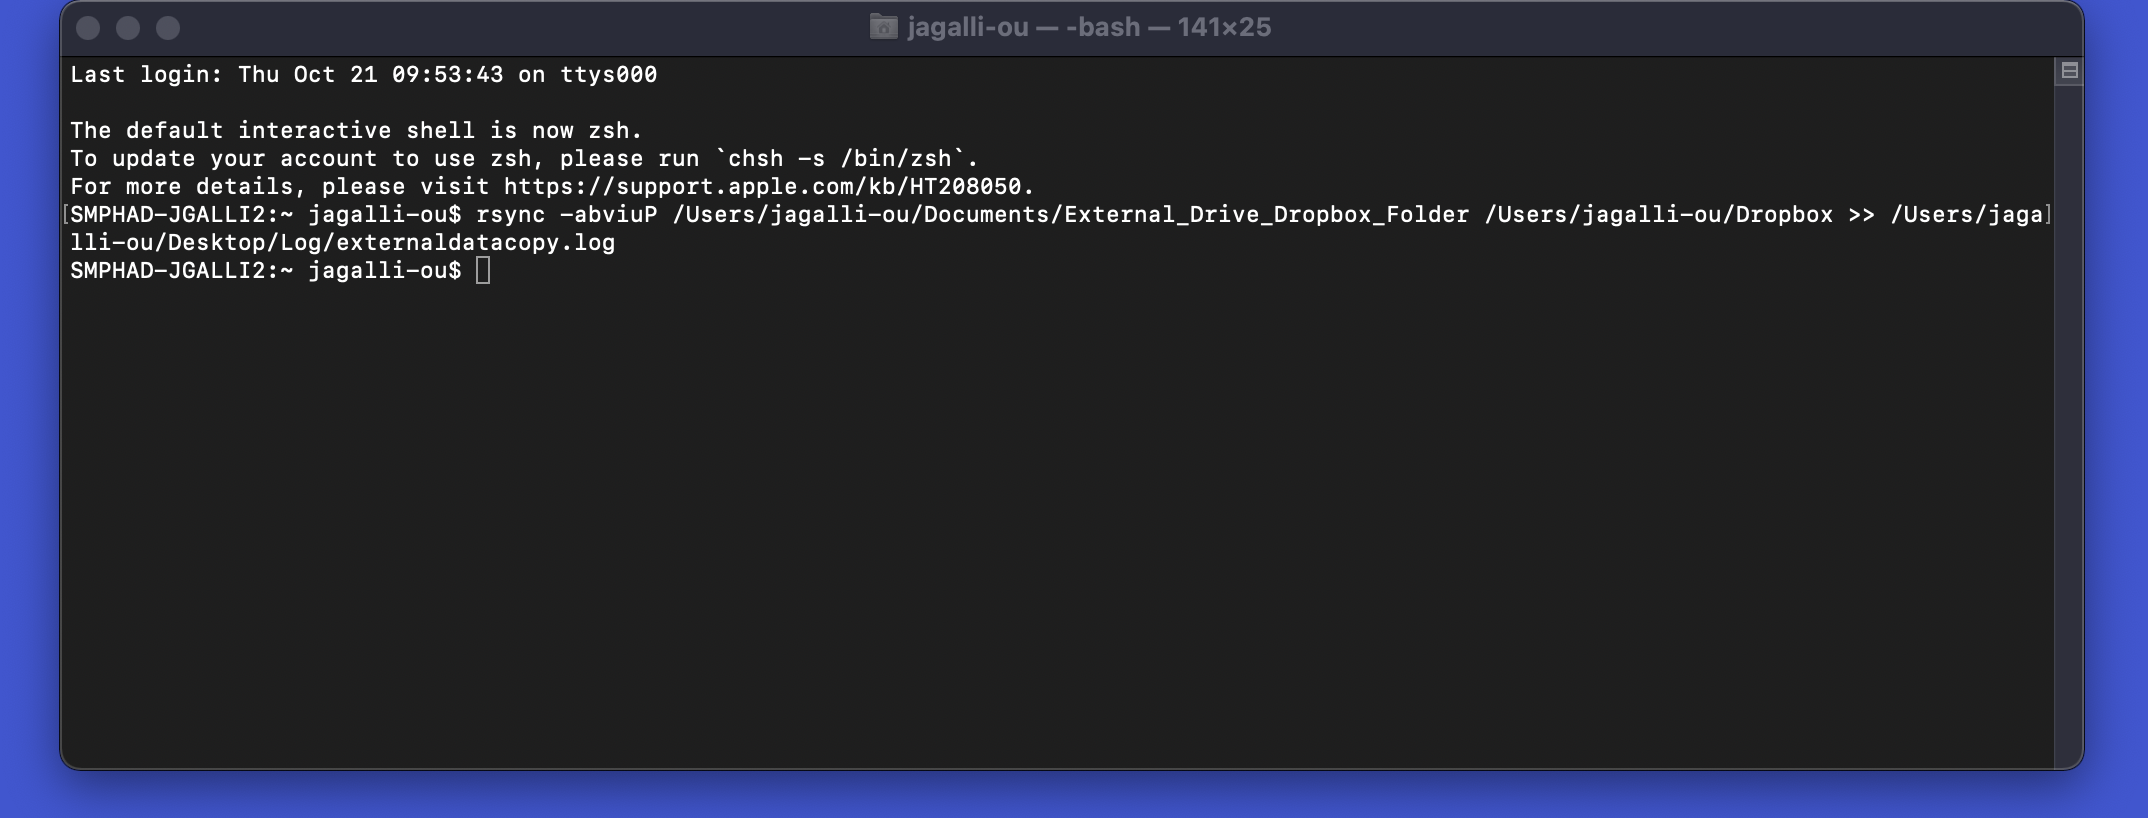
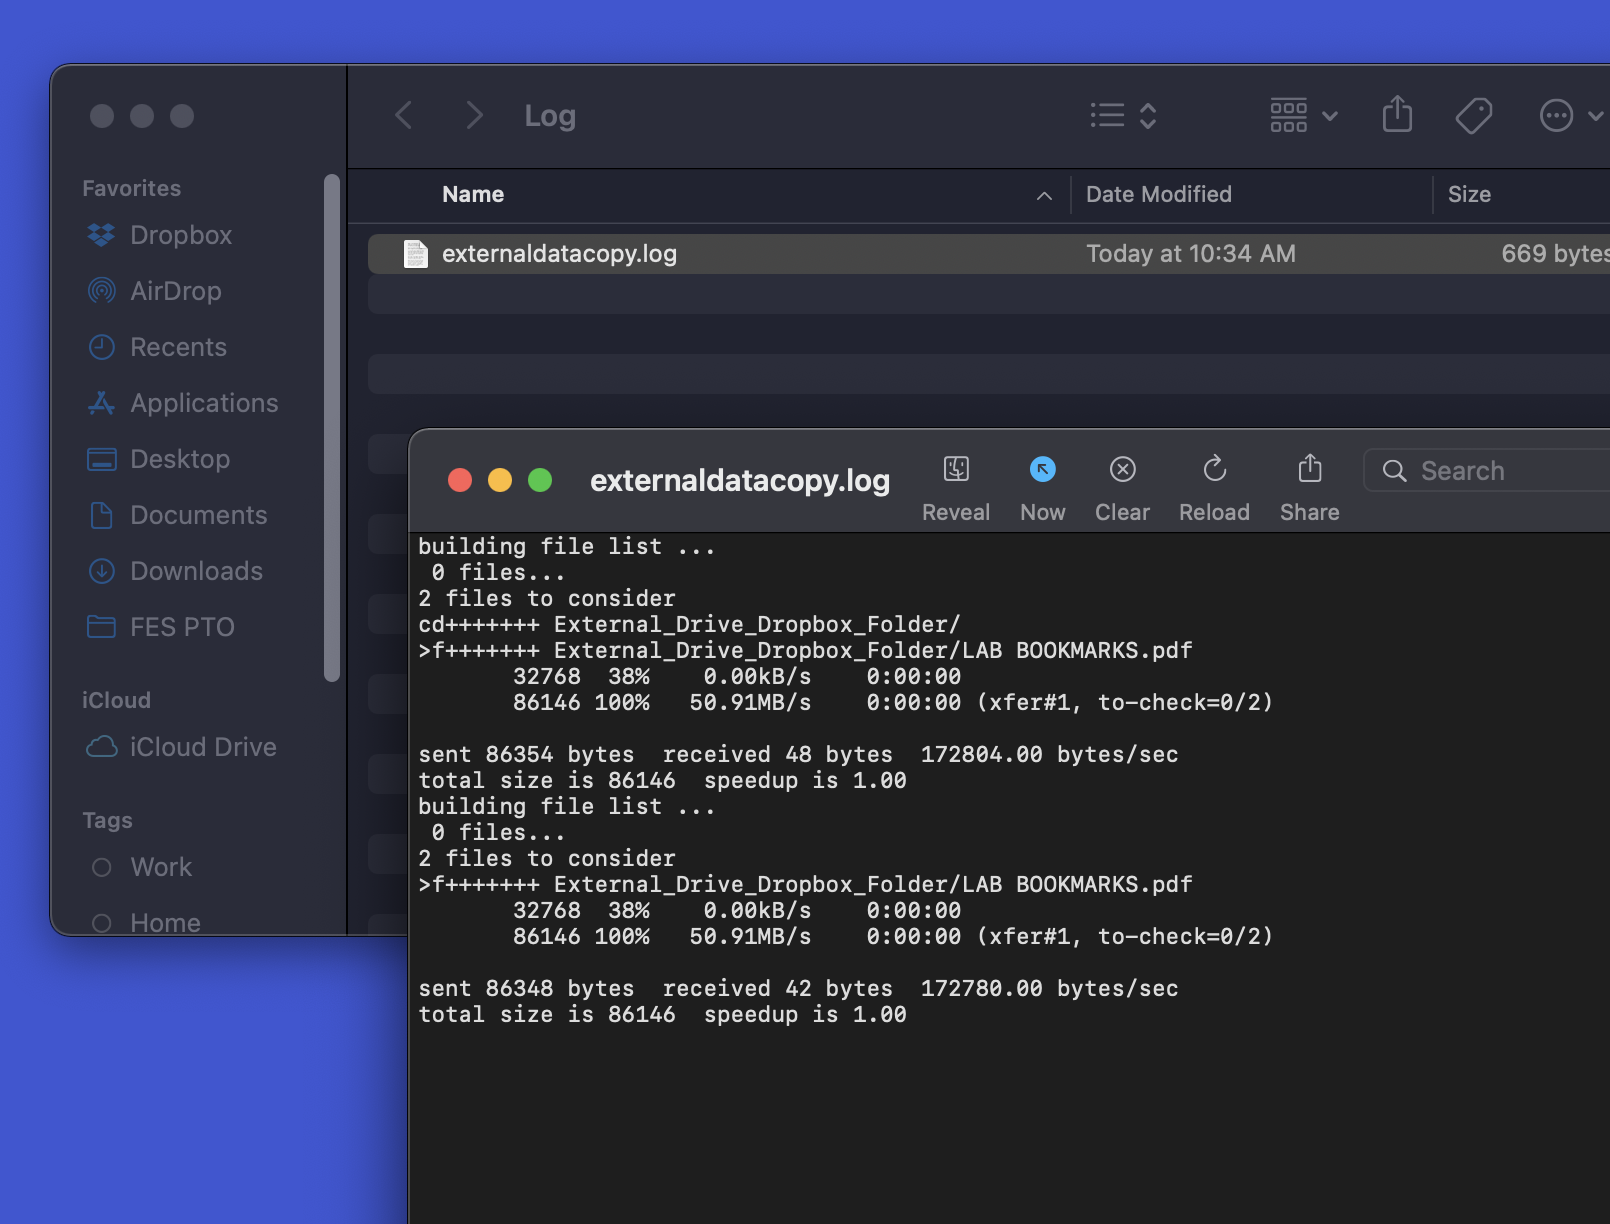
- Now that it is completed, you can check the log file for any issues or errors. It should be reviewed with IT for any questions:
- If you had the internet disconnected during this file copy process, and IT has CLEARED that the file copy finished appropriately, then you can enable internet again. You should also physically check the folders to make sure the contents transferred appropriately (as best possible).
This file copy process is both significantly faster than drag and drop, and most importantly is differential (it will only copy changes / additions). It is also logged so we can know if issues arise as best possible.
Overview
Content Tools