...
The second way is for the user who wants the account to register for a WPP-Fluxx account via the links on our Grant Portal Home Page.
Creating a New User Manually (WPP Staff Only)
Creating a new user as a staff member is fairly straightforward and requires that you know only 3 key pieces of information:
...
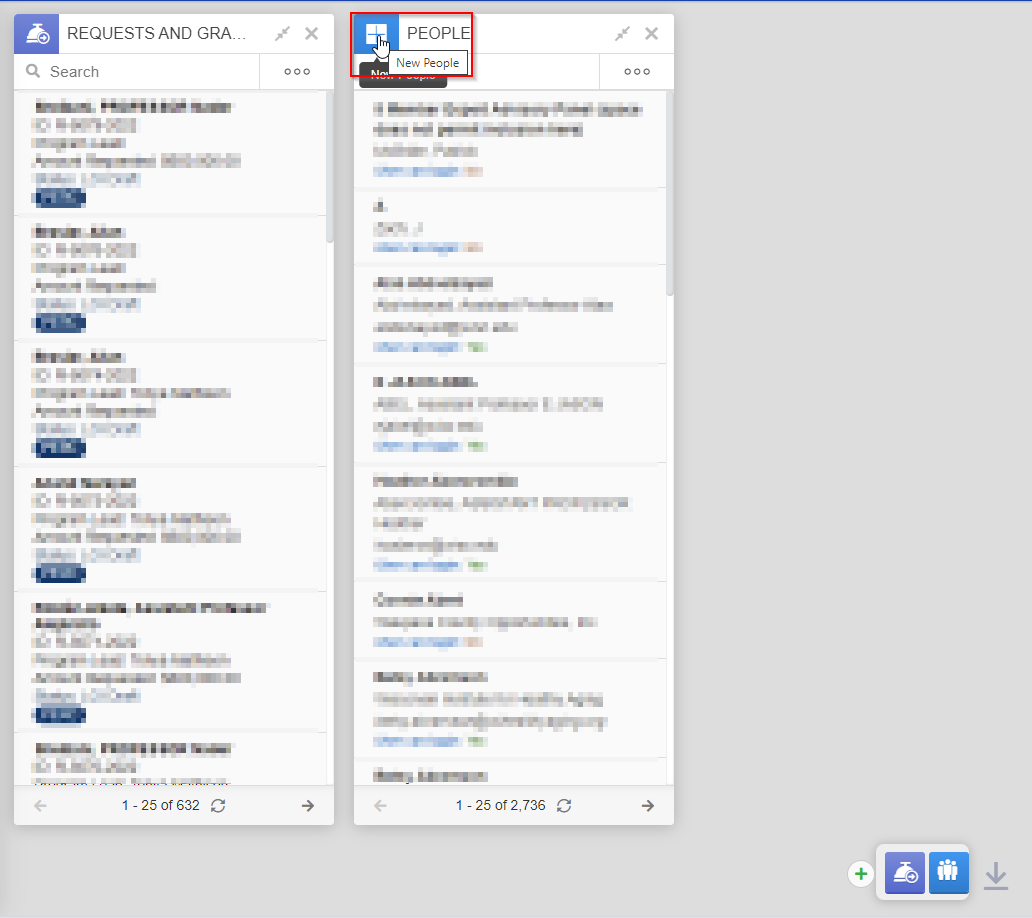
To create the new user, hover over the icon in the top left-hand corner of the "People" card you just added to the dashboard. As your mouse hovers over the icon, the "People" icon will change into a "Plus" sign and a small text box saying "New People" will appear. Click on the plus sign (see also the screenshot, below).
Creating the New User
Once you click on the "Plus" icon, a new card will pop onto your dashboard immediately to the right of your first People card and will be called "New People." This is where you will enter the information regarding your new user; all the fields that are bolded (I.e. First Name, Last Name, and Email) are required fields. After you've entered these three fields, keep scrolling down!
...
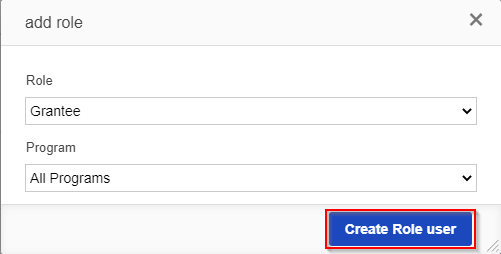
Grantee Reference Guide in order to activate their account and be able to log in.
Creating a New Organization Manually (WPP Staff Only)
The steps for creating a new organization manually are similar to those for creating a new user manually. Follow the steps laid out here below to see how to do so.
...
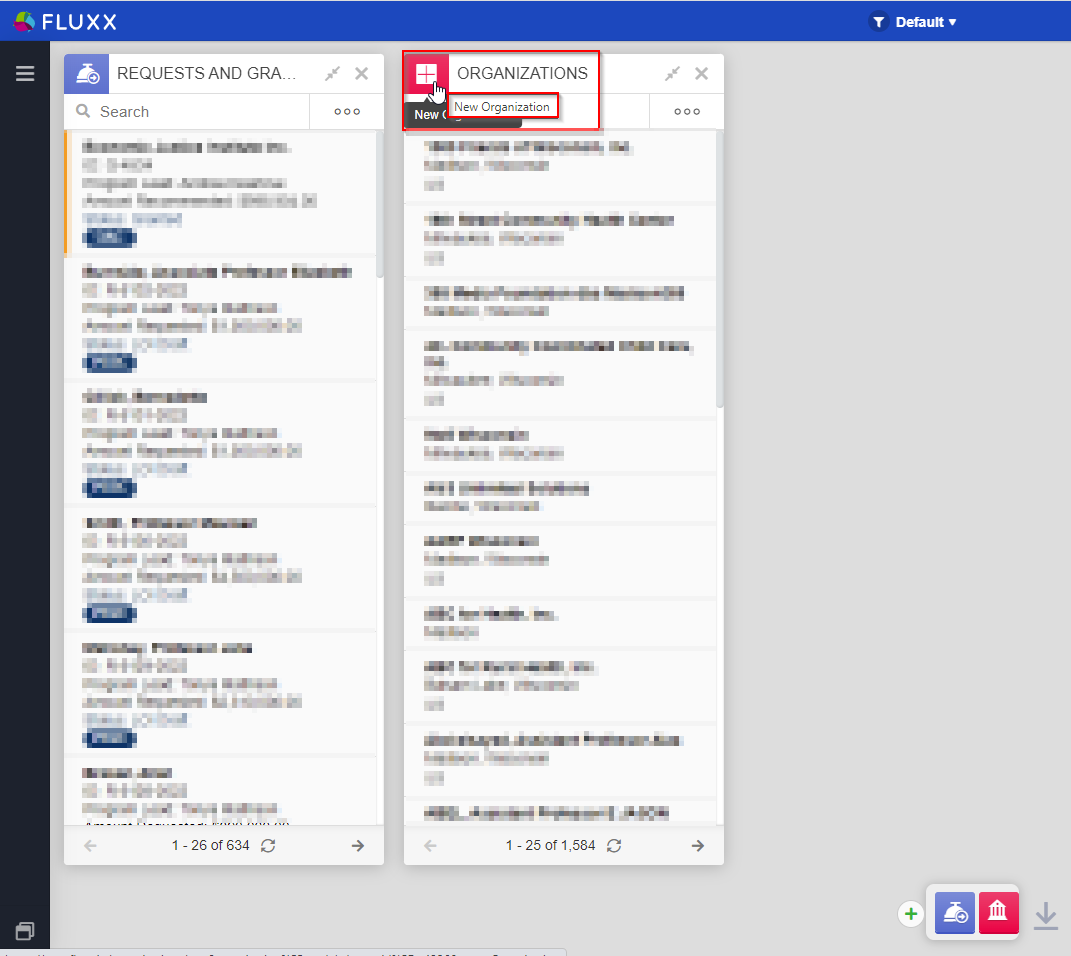
Once you click on the "X," you'll be taken back to the dashboard. To create the new organization, hover over the icon in the top left-hand corner of the "Organizations" card you just added to the dashboard. As your mouse hovers over the icon, the "Organizations" icon will change into a Plus ("+") sign and a small text box saying "New Organization" will appear. Click on the plus sign (see also the screenshot, below) in order to begin creating the new record.
Creating the New Organization
Clicking the Plus ("+") will pull up a new card to the right of "Organizations" called "New Organization." This is where you'll enter in the information of the organization you wish to create. The field "Organization" is the Organization's name; this is the only field that is technically required, though it's worth noting that the we like to have most of (if not all of) these fields filled out for data integrity's sake.
...
Once you've filled out all relevant fields on the form, click the "Save and Close" button in order to create the new organization record.
Linking Your New Organization to a User and Selecting a Primary Contact
Now that you've created the new organization record, you'll need to
Registering as a New User
If a potential grantee would like to apply for a grant, they can simply go ahead and register for an account within our system. This will get them most of the way to having their own account in Fluxx with limited WPP staff intervention.
...
These forms differ in what questions they ask. Let's look at each of them in order.
OAC Registration Form
The OAC Registration Form is split into two sections. The first is the "Organization Information" section, which asks various questions about the community organization that is requesting funding, such as the organization's name, street address, city, postal code, and tax ID.
...
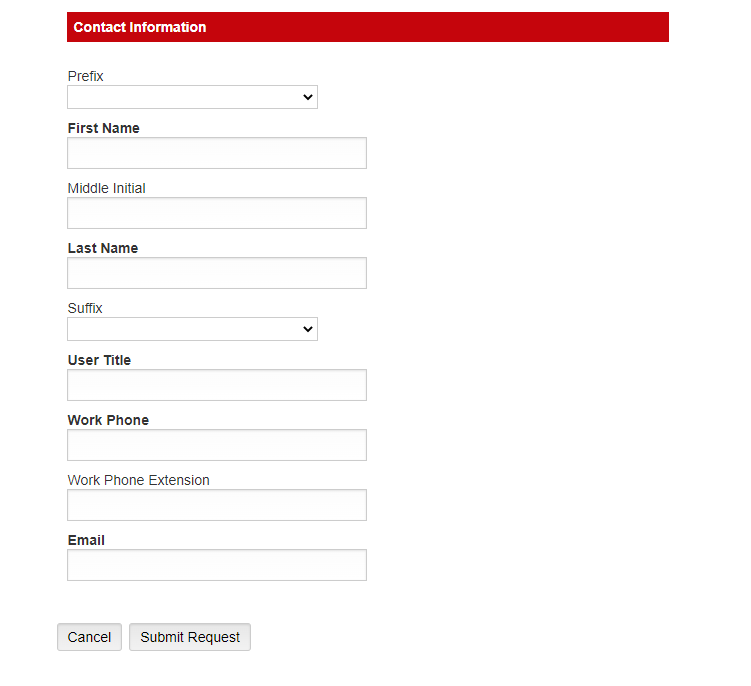
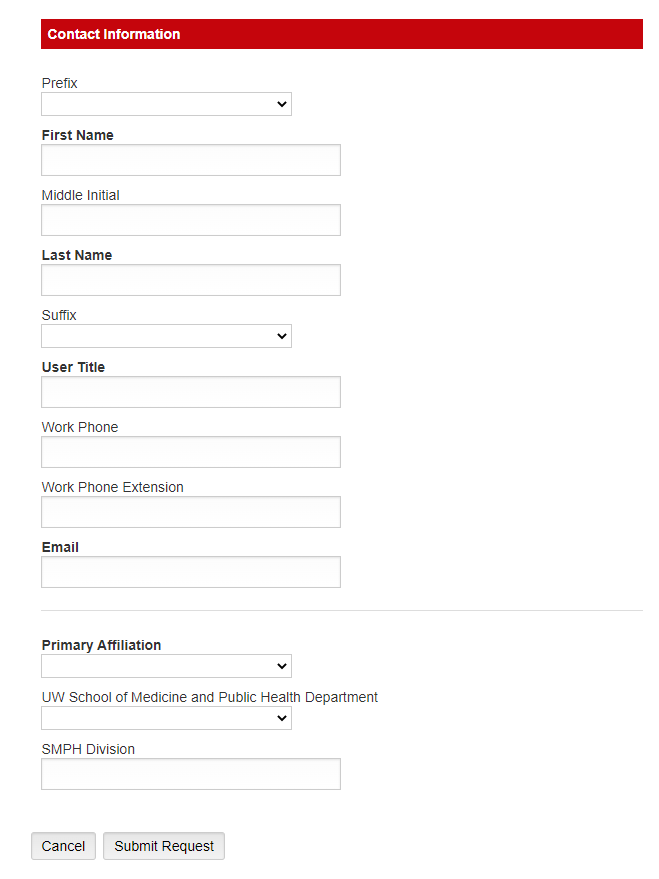
The second is the "Contact Information" section which asks various questions about the specific person who is registering in the system, such as their first and last names, their work phone number, and their email address. Once they have filled out the required information, potential grantees will click the "Submit Request" button. This will send an email to several WPP Staff members letting them know that a user registration has been submitted.
PERC Registration Form
Unlike the OAC Registration Form, the PERC registration form consists of just one section, "Contact Information" which asks questions about the specific person who is registering in the system, such as their first and last names, their work phone number, and their email address. Since in our system, PERC PIs are linked to their own unique "organizations," we do not ask any questions about the organization they are requesting funds for. Once the potential grantee has filled out the required information, they will click the "Submit Request" button. This will send an email to several WPP Staff members letting them know that a user registration has been submitted, just as with the OAC Registration Form.
Completing a Registration Once It's Been Submitted (WPP Staff Only)
If as a WPP Staff member you received an email letting you know that a user has submitted a registration, you can Complete that registration and help the user to get their new account activated by taking the following steps.
...
The order here in which you do so is insignificant, but in this guide we'll start by checking the "People" Card to see if the user in question already exists.
Checking Whether a User Record Already Exists for a Registration (OAC or PERC)
The first thing to do this is to copy the email address of the user and paste it into the search box on the people card. This will search over all the users in the system to see if any have that email address. This is a good start to checking if the user already exists, but isn't always perfect (e.g., some users might have multiple email addresses and may have registered using a different email address than the one that we had on file previously). After checking for that email address in the people card, repeat the same steps for the Potential Grantee's Full Name (First Name + Last Name) and then just their Last Name.
...
If you DID find a user via one of those searches that DOES match the user in question, then you'll eventually want to follow the steps laid out in the "Linking a Registered User to an Existing User" sections (one for OAC and one for PERC) below. Again, you still want to check on the organization record before doing so.
Checking Whether an Organization Already Exists for an OAC Registration
To check to see if an (OAC) organization already exists in the system, the steps are largely similar to those laid out above for checking if a User Record already exists. First, copy the Organization name from the Registration form as shown in the screenshot, below (Note: Since PERC Registration Forms do NOT contain organizational info, this exact step is not applicable to PERC, hence why OAC is referred to separately here). Then, paste the Organization name into the search box in the "Organizations" card. If (as in the screenshot below) no results are returned when searching for the organization name, you should still check one other data point before concluding that no such organization already exists.
...
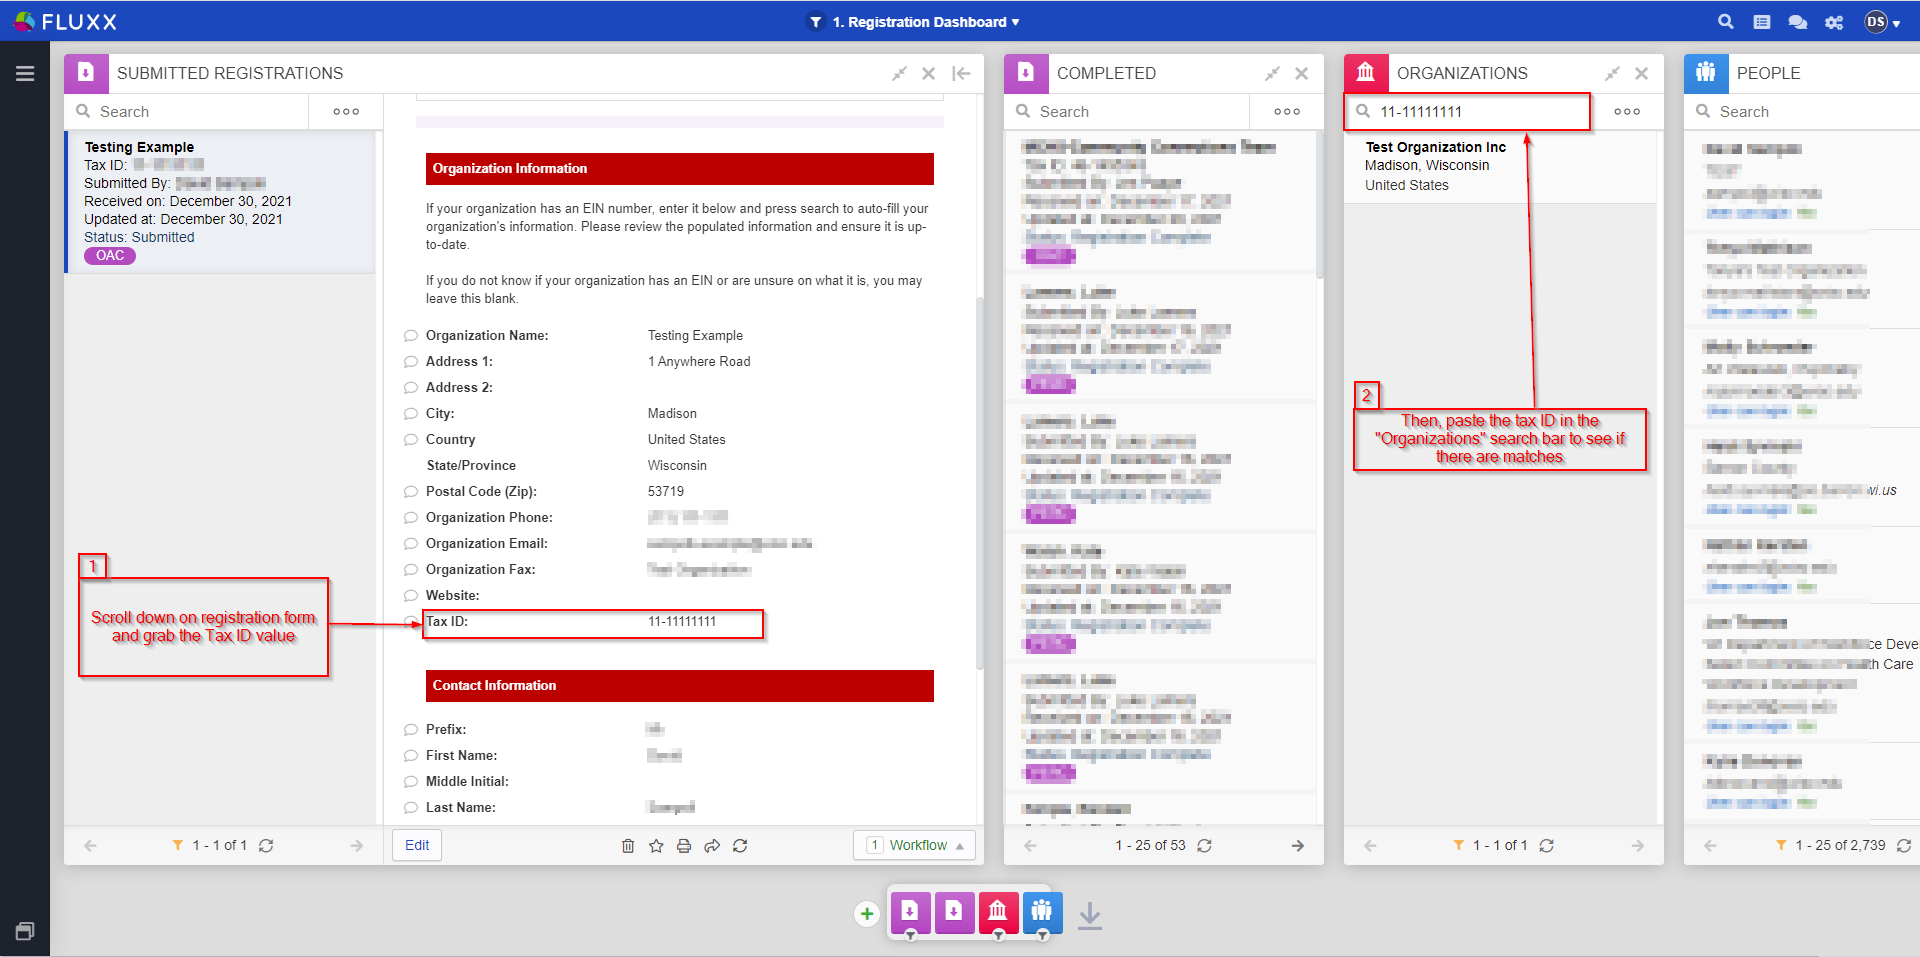
The data point to look at is the organization Tax ID. If you scroll down on the Submitted Registration form, under the "Organization Information" section you can find the "Tax ID" field. Grab the value entered on the registration and paste that value into the search bar in the "Organizations" card as you have done with the organization name (see also the screenshot, below). This will ensure that an organization with the same Tax ID does NOT already exist under a different Organization Name. If you still return no results, then it's safe to head to the Registering a New User (and Organization) section and create the organization; if instead you DID find an organization (as shown in the screenshot, below) then you should Link the Registered Organization to an Existing Organization. See the dedicated OAC sections for these two topic below for OAC-specific tips on doing so.
Checking Whether an Organization Already Exists for a PERC Registration
PERC's process for checking whether an organization record already exists or not is similar to OAC's, with the exception that within the PERC realm "Organizations" are named after their Principal Investigators. PERC organizations are in the format Last Name, (Optional User Title if applicable) First Name. For example, a PERC applicant with the name "Test Name" with a title if "Associate Professor" would have an organization record called "Name, Associate Professor Test." Similar to the steps in the section above for OAC organizations, you can copy the PERC registered user's name and paste it into the search bar in the "Organizations" card (even if you paste the user's full name as First Name Last Name in the search bar, the system is smart enough to find a matching record even if the associated Organization record is called Last Name, Associate Professor First Name e.g.). If you DO find a matching organization to the registered PI, then you can proceed to the section entitled "Linking a Registered Organization to an Existing Organization for PERC."
Registering a New User (and Organization) for OAC
As discussed in the "OAC Registration Form" section, above, the OAC registration forms contains a section for both the person (user) trying to register and a section for the Organization with which the person is affiliated. This section will cover how to create both a new user and a new organization.
...
NOTE: As soon as you hit the "Save" button and create the new user, an email will be sent out to the email address listed under that user giving them a link to reset their password and letting them know what their login is (see screenshot below for a sample of what this email looks like). This email will not go to the email queue and will NOT be visible underneath the user record, but does get sent anyway.
