There is a cheat sheet attached to this page as a quick view of creating a review in the process.
The entire process of creating and assigning and testing a review best goes through the following 7 stages:
Step One: Create the Form
Dashboard > Ribbon Menu > Admin > Blueprint > Form Library > Reviews > Edit
NOTE: Form Designer will be explained in details in a separate page. This is an overview just to get us going.
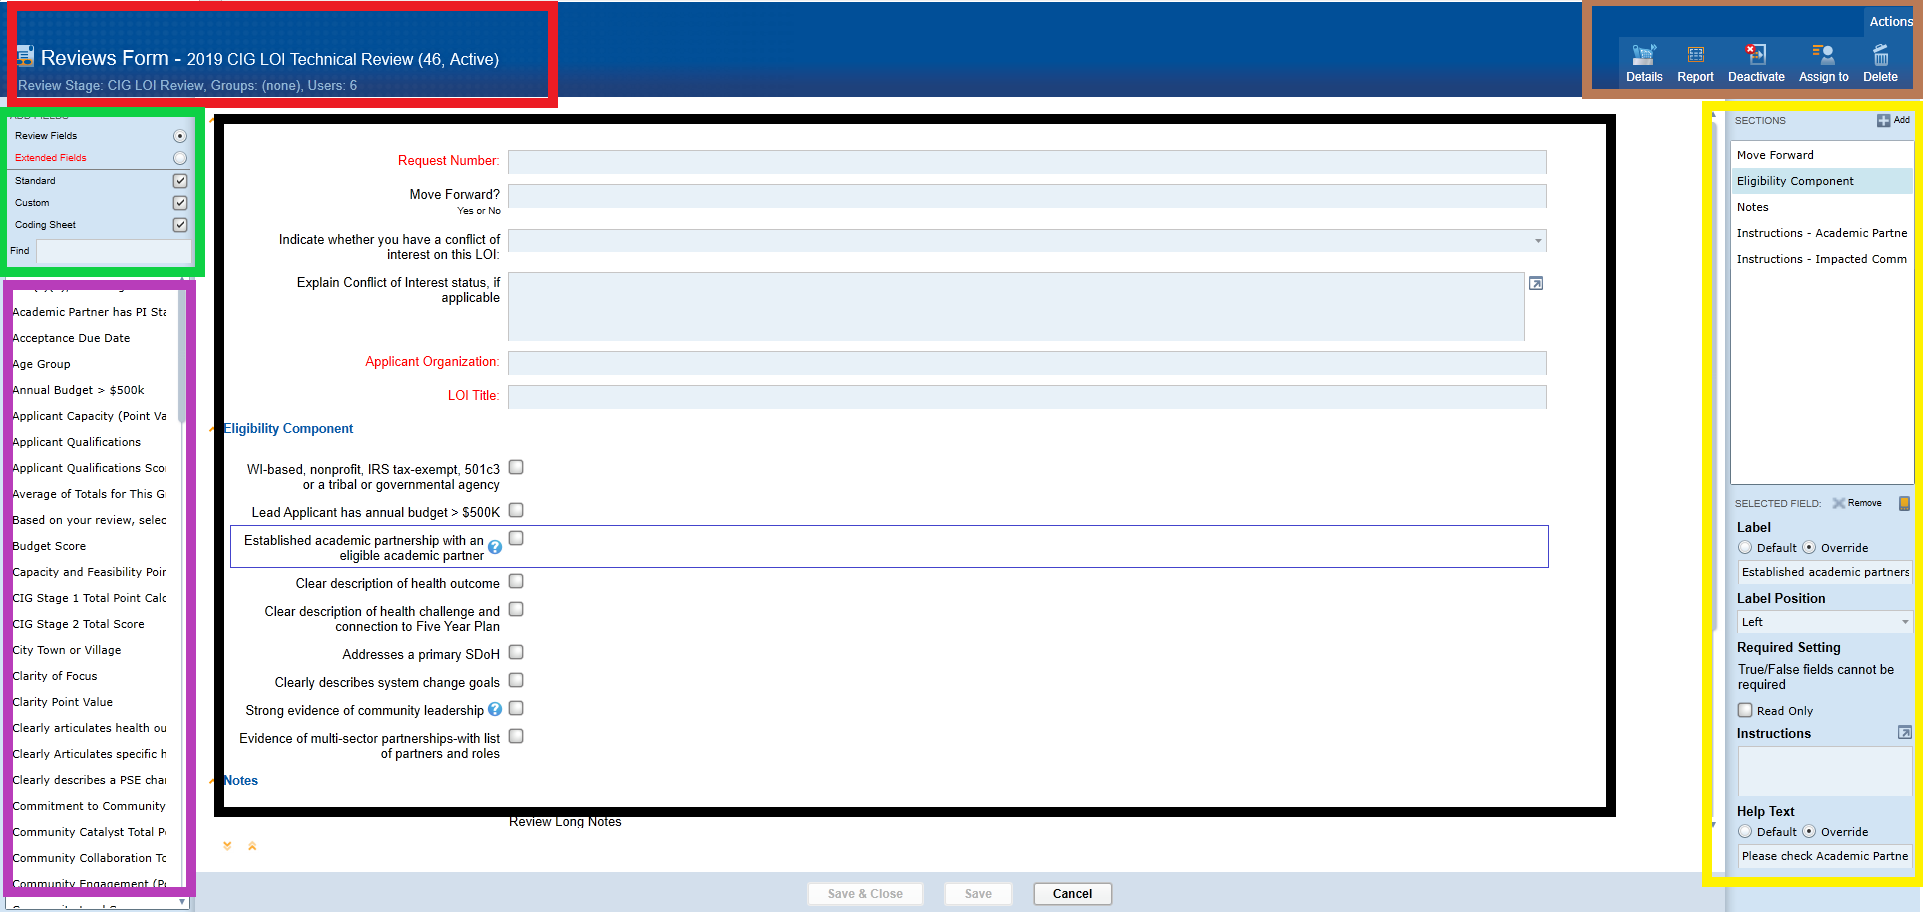
Here we have the following options:
Red Box: Name of Review and number of people the review form is assigned to
Green Box: Libraries you can choose fields from. For example custom fields, coding sheets, standard fields. The application is also able to access extended fields from entities that have not much to do with the review and therefore, they are read-only fields for instance request number, etc.
Pink Box: Is loaded with available fields based on selection in Green Box. These fields can be added to the field by drag and drop into the area in Black Box.
Black Box: Has the final look and feel of the form
Yellow Box: Appears when a field is selected. It has options to modify the field.
Brown Box: Actions available to the entire form.
Step Two: Assign the Form to Users
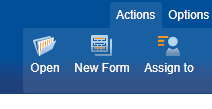
Dashboard > Ribbon Menu > Admin > Blueprint > Form Library > Reviews > Actions > Assign to
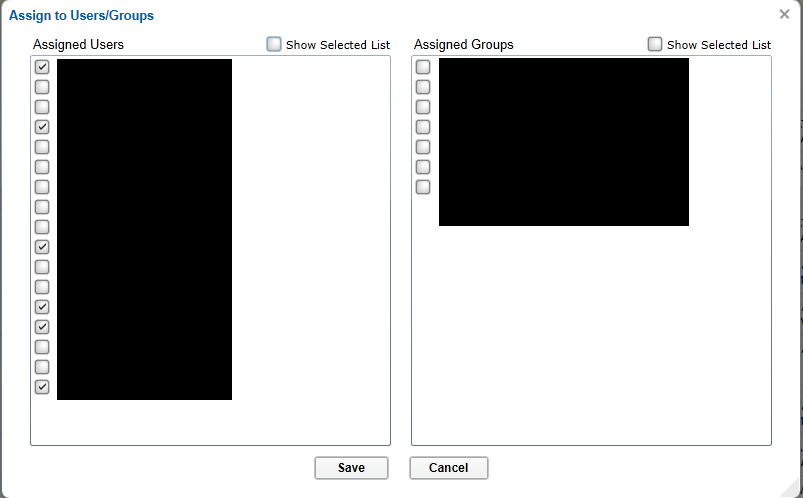
Clicking the Assign to brings the following screen up were we can choose who should this screen be assigned to.
It will un-assign the previous form from their environment and assign the new form to them.
Step Three: Check the Review Stage Setup
Dashboard > Ribbon Menu > Admin > Reviews > Review Stage Setup > Edit only if absolutely necessary
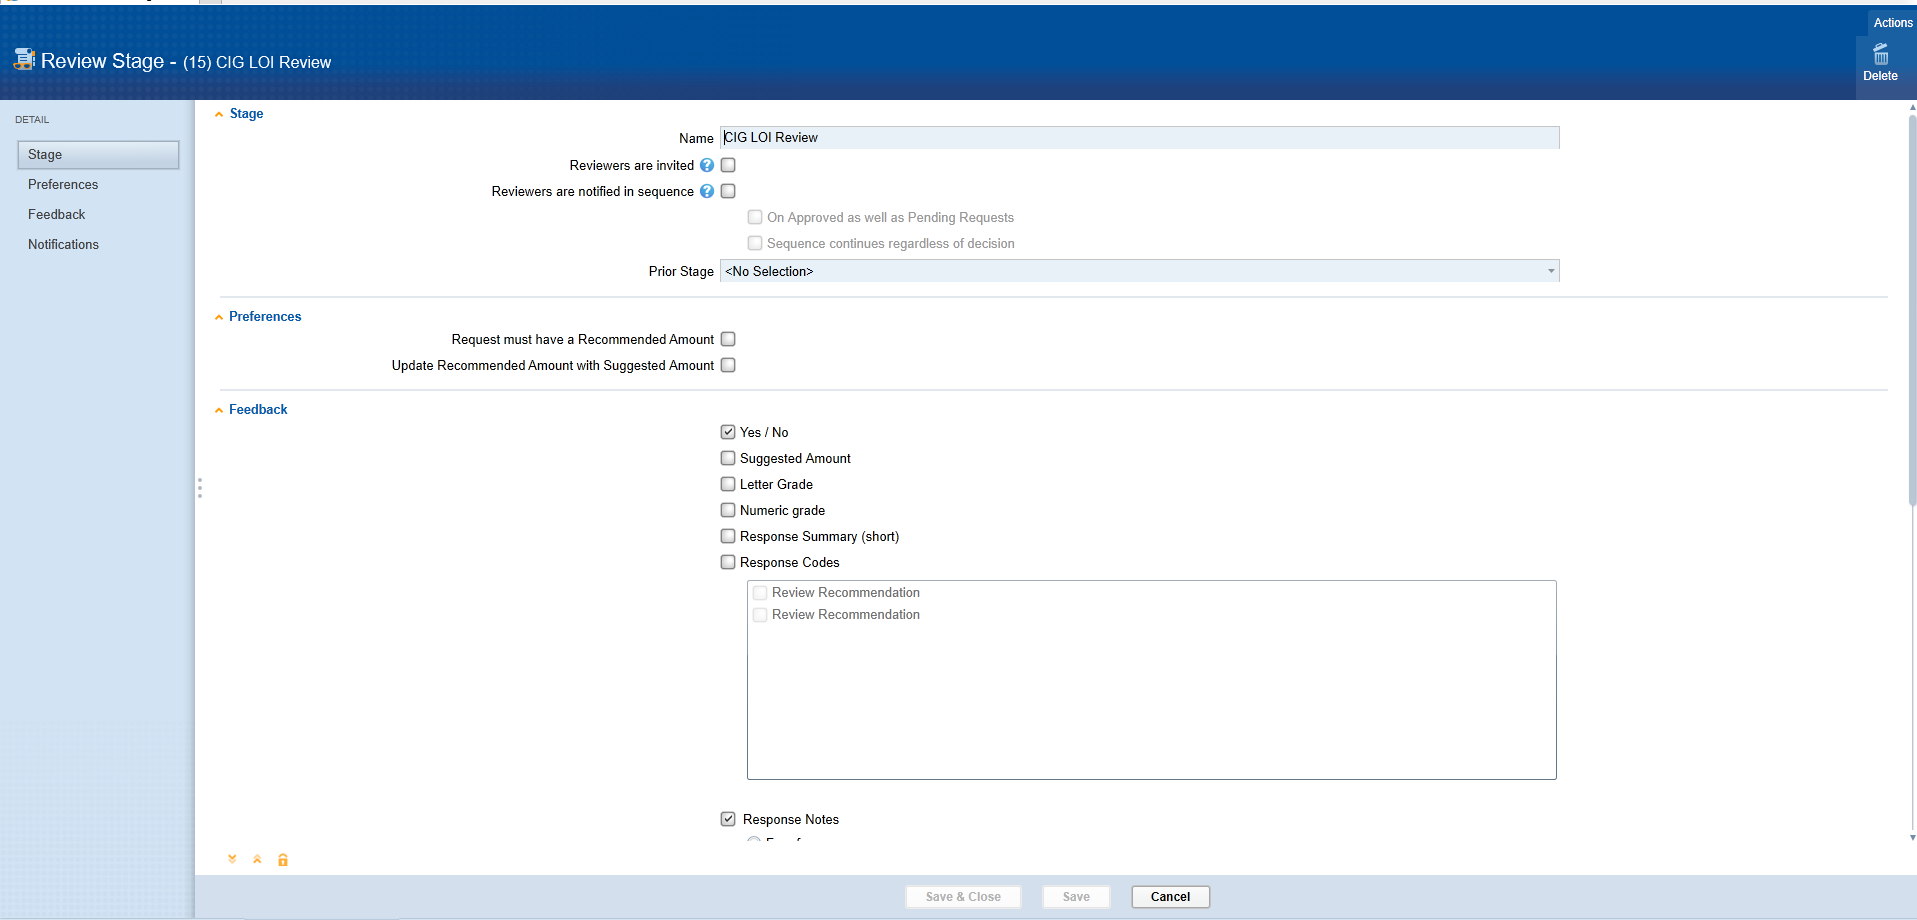
This page is better left untouched unless you know what you're doing!
Step Four: Create a Committee (Optional)
Dashboard > Ribbon Menu > Admin > Reviews > Manage Committees > Create new or modify an existing one

It is not necessary, but best practice to create a committee and add reviewers that way. Here reviewers can be added or removed. It also indicates if there are other committees that the reviewer is part of.
Step Five: Create Reviews
Search for Requests > Choose Requests > Actions > Assign Reviewers > Select Stage > Select Committee (or specific reviewers one by one) > Select Stage > Select Committee
This stage is self explanatory.
Step Six: Check to make sure it looks good
Dashboard > Ribbon Menu > Launch > Reviewer Portal
It is a great idea to create some tests and login to Reviewer Portal to make sure it looks alright.
Step Seven: Clean up Test Reviews
Full Search > Reviews > Add Filter > Choose Stage and Reviewer > Search > Select All > Actions > Delete
Also important to cleanup the test reviews.