The Forms Menu is the most used of the Fluxx Admin Panel menus. This guide will walk you through how to update/edit/create forms from within the Admin Panel.
Accessing the Forms Menu
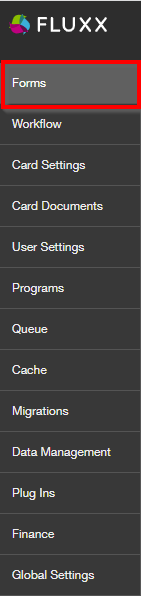
To access the Forms menu, start by going to the Admin Panel (instructions here). In the Admin Panel, the Forms menu is the top Main Menu (see also the screenshot below).
The Forms Menu: Overview
Clicking on the Forms Main Menu will present the several Submenu options available for Forms. In this guide, we'll focus on the Grant Requests submenu (the Grant/Grant Application Record Type). Note: The steps for editing a Form are more or less the same across the various Record Types, so you can follow the steps in this guide for other Forms (e.g. Requirements, Reviews, Amendments, etc.) as well.
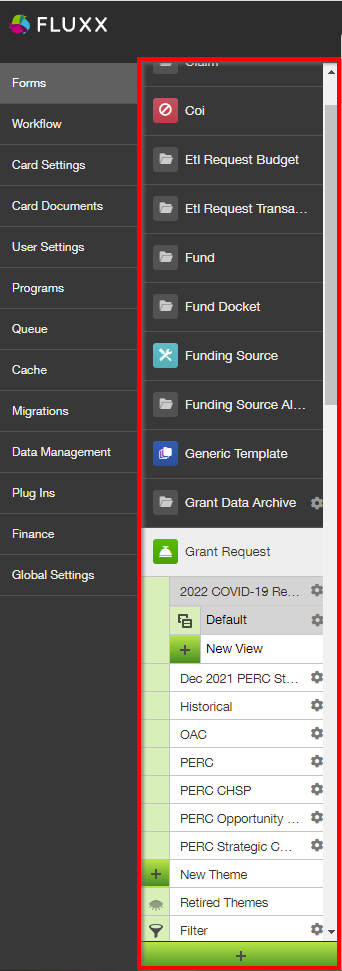
Clicking on one of the "Themes" (Forms) found underneath the Grant Request record type will pull up a screen similar to the one found below. Please review the descriptions below the image for an idea of what options are available from the Forms menu.

- Box # 1: Still shows the Main Menu Groupings. This is convenient if you need to switch back and forth between two different "Main Menus" while building a form.
- Box # 2: Shows the Submenu "Grant Request" and the already-built Themes (different application form types) underneath the submenu. If you want to edit/preview a specific theme, simply click on its name from this list to select it.
- Additionally, you can find the "New Theme" button at the of this list before "Retired Themes" and "Filter." This allows you to create a new application form either from scratch or by copying another form first.
- Note: Clicking "New Theme" will pull up the a window with both the options to create the new theme from scratch AND to copy the existing view of another theme. It is recommended to always start an application by copying another, and then making the necessary changes on the copy.
- Box # 3: Displays the Preview of the Theme currently selected. In the example screenshot, you can see a Preview of the "2022 COVID-19 Response Application" (the currently selected Theme).
- Box # 4: Displays where you can find Retired Themes. These are application forms that are no longer used, but can still be found for referential (and copying) purposes. Click on "Retired Themes" to see a window with all of the application forms that are no longer used; from this window, you can also "Unretire" these themes (i.e. make them active application forms once again).
- Box # 5: Displays the "Build" button; this is what you'll press in order to begin Editing the form itself. See the next section "Editing a Form" for more information on this.
- Box # 6: Shows the toggle that allows you to switch an application form from being in "Draft Mode" (not yet usable) to being "Active" (ready for use as an application form). Best practice recommendation is to leave unfinished applications forms in Draft status until they are completed, after which you MUST ENSURE you move it to Active status otherwise the form will not be accessible.