- Verify that the Global Protect VPN Client software is installed - Instructions found here: Windows, Mac OS
Configure the SMPH VPN portal NOTE: This step only needs to be done one time. The Portal address should be remembered for subsequent connections.
WINDOWS - Screen Shots
MAC - Screen Shots
A Open GlobalProtect.
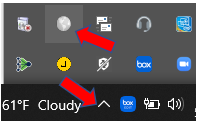
- WINDOWS - Click the (up arrow) icon in the System Tray of the taskbar and select the GlobalProtect icon,
- or, search the StartMenu for GlobalProtect and open it from there.
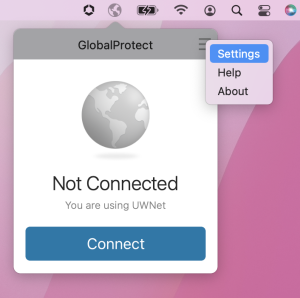
- MAC - Click the GlobalProtect icon (top right) of the Apple Menu bar.
B At the top right of the GlobalProtect window, click on the three bars to open Settings.

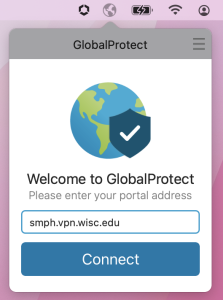
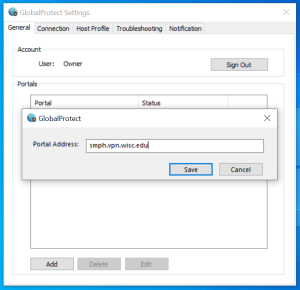
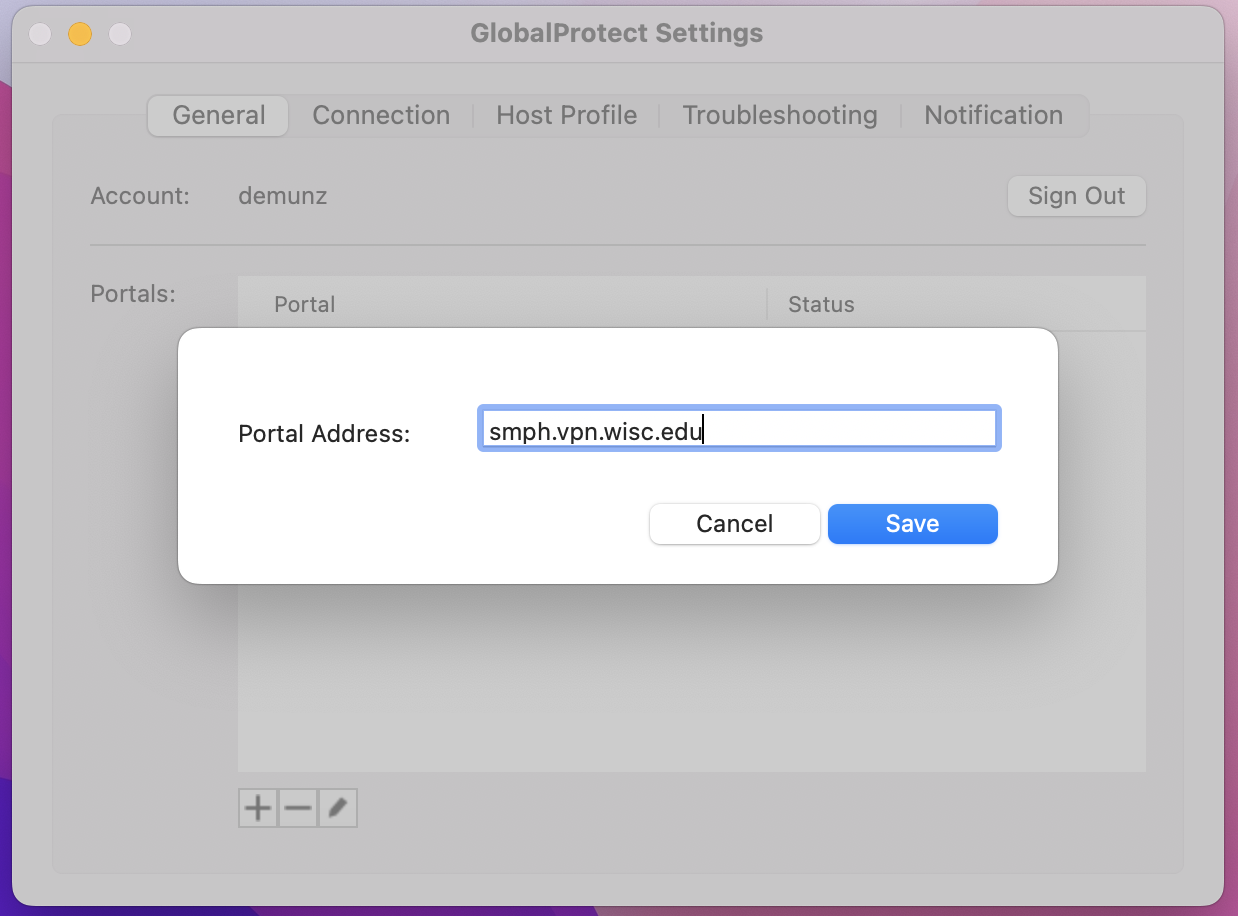
C - In the Portal section, click the Add button.
- Enter smph.vpn.wisc.edu for the Portal Address:
- Click Save, then close out the window.
- WINDOWS - Click the (up arrow) icon in the System Tray of the taskbar and select the GlobalProtect icon,
Connecting to SMPH VPN portal
A Open GlobalProtect.
- Windows - Click the icon in the System Tray, or select from the Start Menu.
- Mac - Click the GlobalProtect icon (top right).
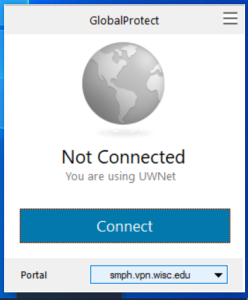
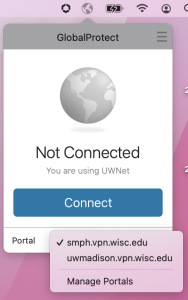
B Verify the smph.vpn.wisc.edu Portal is selected and click Connect
- NOTE: if only one portal is configured, then the portal down arrow option does not show.
C Enter your NetID username and password, then click the Sign In button. 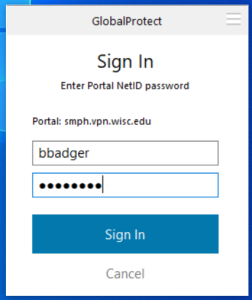
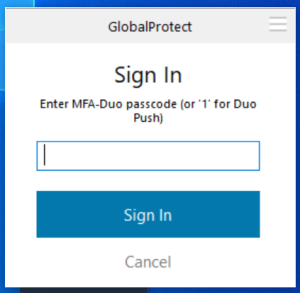
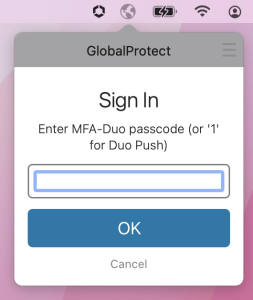
D Enter '1' to send a Duo Push to device, or enter a MFA-DUO passcode generated from your device app.
E GlobalProtect VPN should indicate that it is now Connected to the VPN portal. 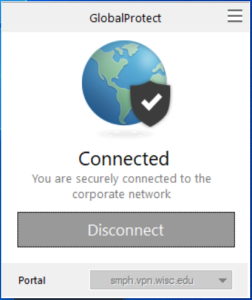

Overview
Content Tools